What Website Pixels You Need and How To Install Them
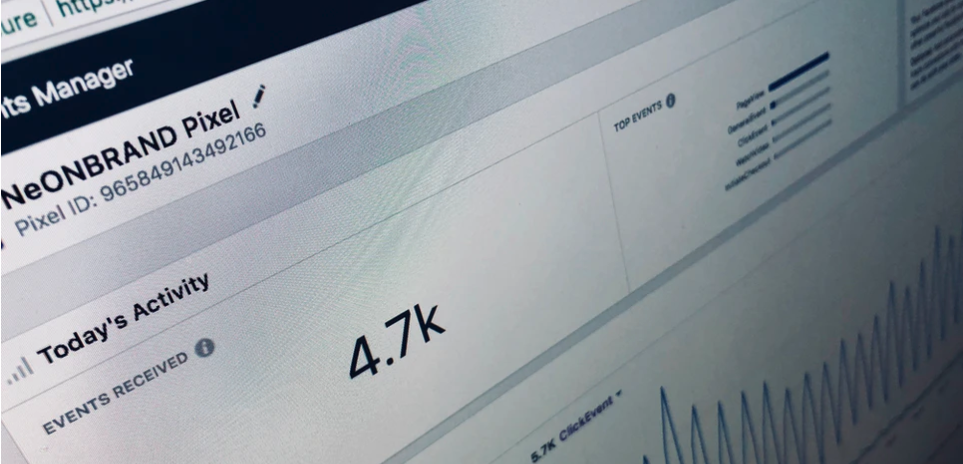
By now, you know you can find gold in your Google Analytics and how important the tool is for tracking the impact of your website. A pixel operates similarly: it’s an analytics tool that allows you gauge the effectiveness of ads, track actions on your site, and build audiences. It’s really just a simple line of code added to a website that tells you what users are on your site and what they’re doing on it (anonymously, of course). And each pixel you add to your website can have a monumental impact on how you approach your digital marketing strategy. With a variety of pixels out there, what pixels do you need and how to install them is a common question.
As a digital marketing in the travel & tourism industry, you may continually hear about the types of pixels and tags are available and why they’re all necessary. But the question remains, what pixels do you need and more importantly, how do you install them?
The Gold Standard — The Facebook Pixel
If you’re a savvy digital marketer, you probably use Facebook Business Manager. Which means you may have heard about The Facebook Pixel. It is vital that you are utilizing this pixel on your destination’s website. This pixel helps to optimize ads, build better targeted audiences, and remarket to users that have previously visited your site.
Even if you’re unsure of how it works the immense protentional is what truly matters. The pixel will start collecting crucial marketing data for your organization once you install it. This fundamental information can be used to accomplish future marketing goals. Based on the amount of information and data stored by using the pixel, it’s imperative that you install it as soon as you’re able.
Besides Facebook — What Other Pixels Do I Need?
There are a variety of pixels available to marketers from social media platforms. Every popular social media site utilizes pixels — Pinterest Tag, LinkedIn Insight Tag, Twitter Pixel, and TikTok Pixel. As part of Facebook, Instagram uses the Facebook Pixel.
What pixels do you need? The simple answer to is to install those for whatever platform you use for digital marketing or those that you plan to use. Regardless of what social media platform you’re using, we highly recommend starting with the Facebook Pixel.
How to Install Pixels On Your Website
All of those pixels operate using the same principals as The Facebook Pixel. As an example, we will walk you through how to install this pixel.
- First, you need to create your Facebook Pixel.
- Go to your Facebook Pixel tab in Ads Manager.
- Click Create a Pixel.
- Enter a name for your pixel. You can have only one pixel per ad account, choose a name that represents your business.
- Check the “Accepts Terms of Use’ box
- Generate your Pixel
- Installing Your Pixel
- Go to the Pixels page in Ads Manager
- Click Actions > View Code
- Copy the code and embed it into each landing page on your site. Add the pixel code between the tags within your HTML code on each page.
- Example:
- Pixel Code Here
Click to learn how to install pixels or tracking tags for some other popular platforms: Pinterest Tag, LinkedIn Insight Tag, Twitter Pixel, and TikTok Pixel.
As a digital marketer, pixels should be an essential component of your marketing strategy. Remember, there’s nothing scary or difficult about them! All they are is an important piece of code to copy and paste into your site. The data collected by using this pixel can help aid in a variety of things. Like retargeting audiences for greater conversions or ROI’s, and gain a understand how users are interacting with your site, e-newsletter and ads.
Be sure to check back here weekly to see what we are talking about on our blog like how to Leverage a Safer Customer Experience through QR codes and more. Also don’t forget to also sign up for our e-newsletter to make sure you keep up-to-date on all things TwoSix Digital!


