
by TwoSix Digital | Oct 16, 2024 | Data Tracking
Have you seen a large amount of traffic from Ashburn, Virginia, in your Google Analytics? You may have also noticed a ton of visits from other cities that aren’t part of your usual market, such as Boardman, Oregon or San Jose, California. In this article, we’ll help...

by TwoSix Digital | Jul 11, 2024 | Data Tracking
From Chaos to Clarity: Fix Your DMO’s Google Analytics 4 in 5 Steps Updated: July 22nd, 2024 Starting in March 2023, Google Analytics began migrating settings from Universal Analytics (UA) to GA4, unless you completed the “GA4 Setup Assistant”. Unfortunately,...
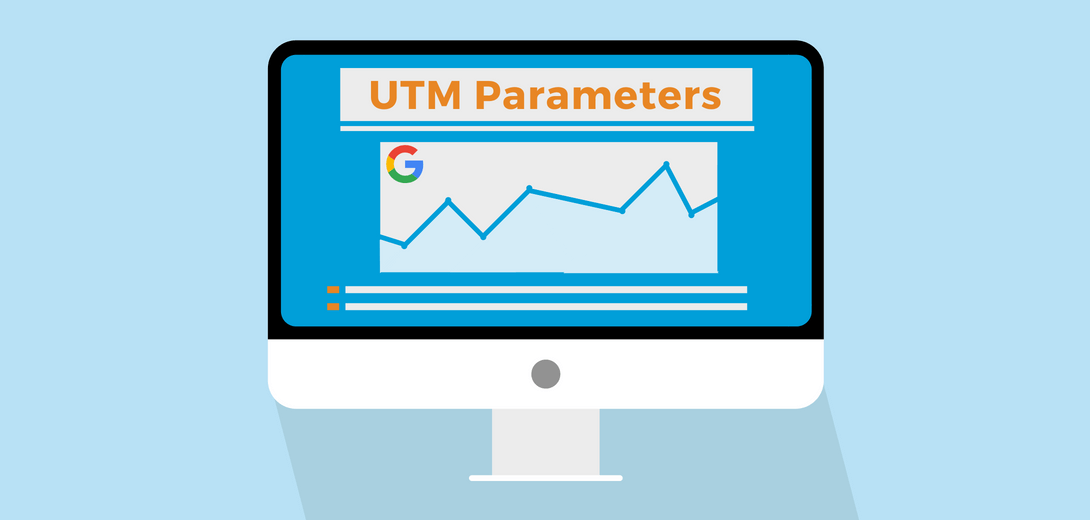
by TwoSix Digital | Jul 14, 2022 | Data Tracking
When you hear “UTM codes,” you may think that it’s far too complicated to try and understand. Instead, try to think of them like “nametags” for your link to make them more digestible. These ‘name tags’ appear in analytics reports and let a website know exactly where...

by TwoSix Digital | Jul 15, 2020 | Data Tracking, Social Media Strategies, Tourism and Technology Tidbits
What Website Pixels You Need and How To Install Them By now, you know you can find gold in your Google Analytics and how important the tool is for tracking the impact of your website. A pixel operates similarly: it’s an analytics tool that allows you gauge the...

by TwoSix Digital | Jul 18, 2019 | Data Tracking
If you constantly find your self wondering how to use Google Analytics (CA), you are not alone. Although Google Analytics has been around for several years now, there are still many marketers that feel overwhelmed even just opening the platform. It is a key tool in...